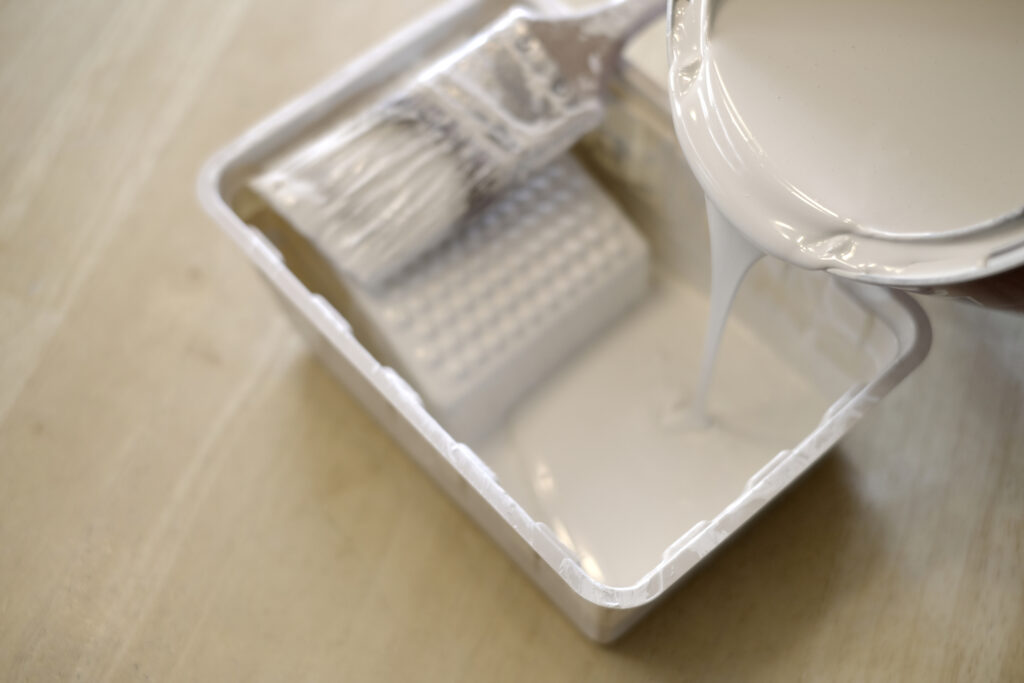
When you’re tackling an interior house painting project, priming your walls is a crucial step that can make a big difference in the final result. This process ensures that your new paint adheres properly and looks its best. In this guide, we’ll show you how to prime walls before painting, ensuring a flawless and long-lasting finish for your home.
How to Prime Walls Before Painting

Why Priming is Essential
Priming walls before painting is an important step to ensure a high-quality finish. Here’s why priming is so crucial:
- Improves Paint Adhesion: Priming your walls is key for long-lasting results. A primer creates a uniform surface, enhancing the paint’s ability to stick effectively. This is particularly important in areas prone to moisture, as it reduces the likelihood of paint peeling or blistering over time. By using a primer, you’re providing a foundation that ensures your paint job stays intact and looks great for years.
- Enhances Paint Color: Primer plays a vital role in achieving the true depth and vibrancy of your chosen paint color. It forms a barrier that prevents the previous color or wall imperfections from altering the appearance of your new paint. Especially when switching from a dark to a light color, a primer makes sure the new color is displayed accurately and vividly, without requiring multiple coats of paint to achieve the desired effect.
- Blocks Stains: A high-quality primer is effective in sealing off stains and marks on your walls. Stains from water damage, smoke, or ink can be challenging to cover with paint alone. A stain-blocking primer prevents these blemishes from seeping through the new paint layer. This is essential for maintaining a clean, uniform look on your walls, ensuring that unsightly stains don’t detract from the beauty of your freshly painted space.
Choosing the Right Primer
Selecting the right primer ensures better adhesion, longevity, and overall appearance of the paint. Here are some tips on how to choose the right primer for each type of surface:
For New Drywall
When working with new drywall, it’s important to use a drywall-specific primer. This type of primer is designed to fill in the porous surface of drywall, creating a smooth and uniform base. It helps in sealing the drywall and joint compound, which can absorb paint differently than the rest of the wall, leading to an uneven finish. By using a drywall primer, you ensure that the paint adheres evenly, resulting in a consistent and professional-looking finish across the entire surface.
For Stained Walls
In cases where walls have stains from water, smoke, or other sources, a stain-blocking primer is your best choice. These primers are specifically formulated to cover and seal stains, preventing them from bleeding through the new layer of paint. They provide a robust barrier that keeps these unsightly blemishes hidden. Without a stain-blocking primer, you risk having these stains reappear over time, compromising the appearance and quality of your paint job.
For High-Moisture Areas
For areas like bathrooms and kitchens, where humidity and moisture are common, mold-resistant primers are the way to go. These primers are formulated to resist moisture, reducing the risk of mold and mildew growth, which is vital in such environments. They provide a protective layer that not only helps the paint adhere better but also ensures the longevity of the paint job in challenging conditions. By choosing a mold-resistant primer, you’re taking an important step in protecting your walls from moisture-related issues.
Tools and Materials Needed
Gather these essential tools and materials to ensure a smooth and successful priming and painting process for your walls:
- Primer
- Paintbrushes and rollers
- Sandpaper (fine-grit)
- Tack cloth or damp rag
- Painter’s tape
- Drop cloths
Preparing Your Walls
Proper wall preparation is a critical step in ensuring a flawless priming and painting experience. Follow these steps to prepare your walls for priming:
Clean the Walls
Start by thoroughly cleaning your walls. Use a mild detergent to gently wash away any dust, dirt, and grease spots. This step is crucial because paint adheres best to clean surfaces. Grease and dirt can interfere with adhesion, leading to an uneven or patchy finish. Be sure to focus on high-touch areas like around light switches and door frames, where grime tends to build up. Let the walls dry completely before moving to the next step.
Repair Damages
Inspect the walls for any holes, cracks, or other damages. Use spackle to fill these imperfections. Once the spackle is dry, sand the areas smooth. This process ensures a seamless and professional finish, as painting over damaged walls can highlight imperfections. Smooth surfaces also ensure that the primer and paint adhere uniformly, providing a consistent texture across your walls.
Sand the Walls
Lightly sanding the walls is important, especially if you’re working with a glossy finish or uneven surfaces. Use fine-grit sandpaper to gently roughen up the surface. This creates a better grip for the primer. Be sure not to sand too aggressively, as this can damage the wall surface. After sanding, the walls should feel smooth to the touch, which indicates they are ready for the next step.
Wipe Down Walls
After sanding, it’s important to remove all the dust. Use a tack cloth or a slightly damp rag to wipe down the walls. This step ensures that no residual dust interferes with the primer’s adhesion. Removing sanding dust is key to achieving a smooth, clean surface for the primer to adhere to, ultimately affecting the quality of your paint job.
Tape Off Areas
Finally, use painter’s tape to protect areas you don’t want painted, like trim, ceilings, door frames, and window sills. This step helps in achieving sharp, clean lines and protects surfaces from accidental paint splatters or over-brushing. Make sure the tape is firmly pressed down to prevent paint from bleeding underneath. Properly taping off areas saves time in clean-up and results in a more professional-looking finish.
Applying the Primer
Applying primer correctly is essential for a uniform paint job. Here are the steps to ensure even coverage and optimal results:
Start with Edges
Begin your priming process by ‘cutting in’ around the edges of the walls. Use a high-quality brush for this task. This technique involves painting a few inches away from the edges, corners, and any trim or fixtures. It provides a neat and precise edge that rollers can’t reach. Carefully painting these areas first prevents uneven brush strokes when you later use the roller on the larger wall surfaces. This step requires a steady hand and patience to ensure clean lines and avoid paint getting onto unintended surfaces.
Roll the Primer On
After cutting in the edges, it’s time to use a roller for the larger wall areas. Choose a roller with the right nap thickness for your wall texture – smoother walls require a shorter nap. Start from the top of the wall and work your way down, applying the primer in a ‘W’ or ‘M’ pattern for even distribution. Make sure that you roll over the cut-in edges to blend the primer seamlessly. This method helps in covering large areas efficiently and avoids the appearance of streaks or lines.
Allow to Dry
Once you’ve applied the primer, it’s important to let it dry completely before applying paint. Refer to the manufacturer’s recommended drying time, which is usually mentioned on the primer can. This time can vary based on the type of primer, room temperature, and humidity. Proper drying is crucial as it ensures that the primer has fully adhered to the wall and is ready to support the topcoat. Rushing this step can lead to a compromised paint job, with issues like peeling or blistering occurring later. Patience during the drying process ensures a stronger foundation for your paint.

Tips for a Perfect Priming Job
Achieving a perfect priming job is key for a stunning paint finish. Here are some expert tips to help you get it right:
Use Quality Brushes and Rollers
Investing in high-quality brushes and rollers makes a significant difference. Superior tools can hold more primer, allowing for a smoother application. They also reduce the likelihood of bristle loss and streaking, which can ruin the finish. A quality roller should have a dense, uniform nap that evenly distributes the primer across the wall. Brushes should have firm, yet flexible bristles that can easily cut in edges without leaving brush marks. Remember, the tools you use are as important as the primer itself for achieving a professional look.
Don’t Overload Your Brush or Roller
While it might be tempting to load up your brush or roller with primer to cover more area quickly, this often leads to drips and uneven coverage. An overloaded brush or roller can’t spread the primer evenly, resulting in thick spots that take longer to dry and might even need sanding down. Instead, dip the brush or roller lightly into the primer, ensuring it’s coated but not dripping. This allows for better control and a more consistent layer of primer on the walls.
Work in Sections
Tackling one wall at a time helps maintain consistency in your priming job. This approach allows you to focus on getting even coverage on each wall before the primer begins to dry. It also helps in managing your work more efficiently, as you can address any drips or uneven spots before moving to the next section. Working in sections ensures that you don’t miss any spots and that each part of the wall receives the attention it needs. This methodical approach leads to a more uniform base for your final paint color.
Conclusion
Priming is a key step in preparing your walls for painting. By following these steps, you’ll ensure a professional-looking finish that enhances the beauty and durability of your interior house painting project. Remember, taking the time to prime properly can save you time and effort in the long run.
While this is an excellent guide on how to prime walls before painting, achieving the perfect finish can sometimes be challenging. If you’re looking for expert assistance, Tar Heel Painters is here to help. With our years of experience and a commitment to excellence, we ensure every painting project is handled with professional care and precision.
For a stress-free painting experience that guarantees stunning results, give us a call at (336) 502-8707. We’re ready to transform your space with our expert touch.


